Clean blinds fast and make every breath feel lighter. Most routines ignore window blinds, even though slats trap dust, pollen, and pet hair. Pros keep the fix simple: multi-slat tools, microfiber, and a vacuum brush. Clean treatments while hanging, yet mind cords and ladders. A short weekly rhythm blocks grime, reduces allergens, and protects finishes without harsh products. Because dust returns quickly, a lean routine improves air quality, preserves color, and saves meaningful time.
Identify Your Window Blinds and Prepare Safely
Venetian models have horizontal slats in wood, vinyl, aluminum, or plastic. Cellular or honeycomb shades fold accordion-style, unlike Roman shades whose folds show while rising. Vertical panels hang in strips, block light, and clean easily. Roller shades carry a sheet in fabric, vinyl, wood, or metal for window blinds.
Decide on non-porous versus fabric surfaces, because methods differ and finishes react. Sara San Angelo, a pro cleaner in Charleston, says tools that clean several slats save time. She adds you can wipe slats while hanging, which avoids reinstalling hardware and lets routines stay quick.
Plan safety before the first pass. Keep one hand on the ladder rail, avoid leaning, and stage tools within reach. Stay clear of tilt cords and lift strings to prevent tangles. Ask for help with tall panels. Small habits reduce falls and protect mechanisms, rails, and trim from accidental bumps.
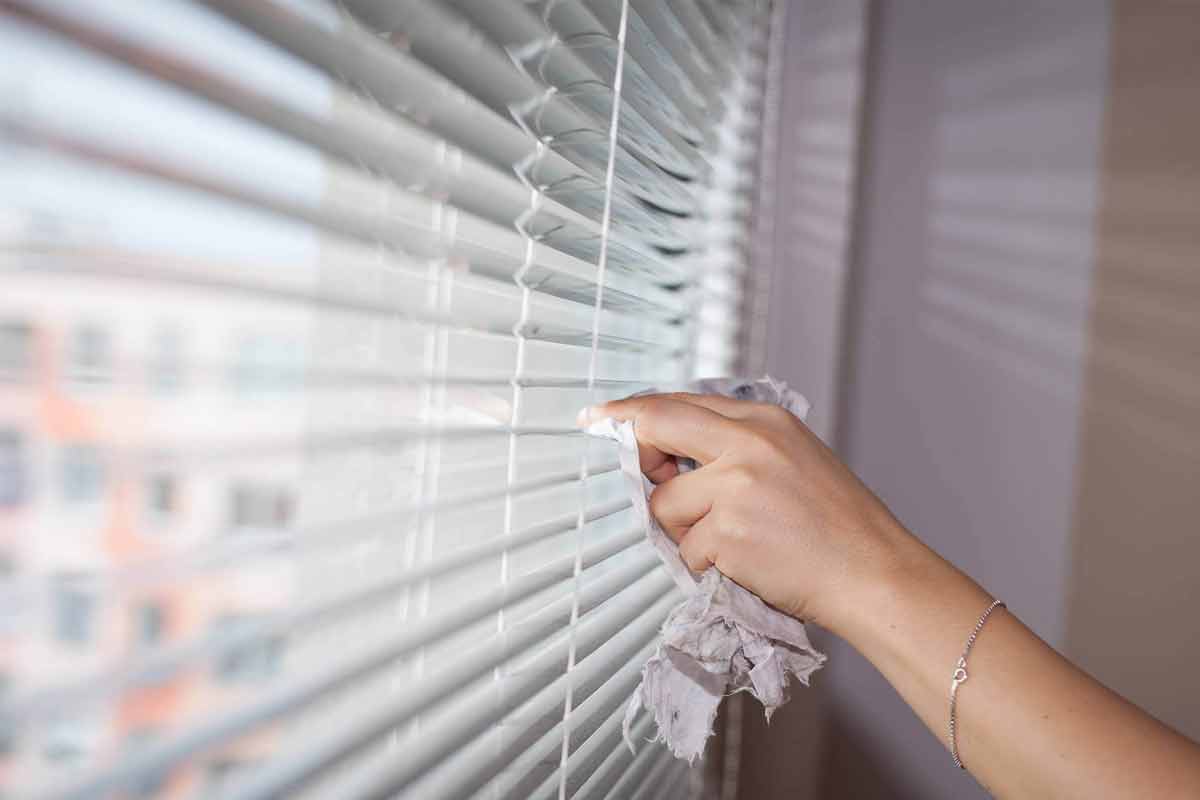
Simple Dusting, Step by Step
A light clean every week or two prevents particles from embedding on window blinds. Start with a microfiber cloth or a soft duster. Then, switch to a vacuum brush for shelves. Close slats to cover broad areas, open them slightly, and repeat on the reverse side to capture remaining dust.
Work between each slat when overlap is minimal, since gaps trap grit. For honeycomb shades, move the cloth up, down, and side to side so fabric cells release lint. Always include the headrail and hardware, where dust hides along lips and later resettles on clean surfaces.
Vacuuming captures debris before it falls to the floor, which reduces cleanup. A nozzle works when no brush exists, though bristles protect finishes. Use short, gentle strokes and avoid pressure. Extend a pole rather than climbing. Low force prevents bending, and quick passes keep the rhythm easy.
Deep Cleaning for Window Blinds by Material
When slats look stained, yellowed, or sticky, prepare a deeper wash for window blinds. Take vinyl or plastic sets down and soak in a bathtub with mild dish soap or some vinegar. If outdoor space allows, rinse with a hose, drain, and dry panels flat to prevent spots and warping.
Skip soaking wood, since water swells fibers. Choose furniture polish for luster instead. For stubborn marks on hanging blinds, dab a fabric-safe spot cleaner and wipe. On plastic or fabric, a soft brush with soapy water helps. If fabric detaches, launder gently or dry-clean.
For targeted stains, mix a paste of vinegar and baking soda and apply lightly. Let it foam, then rinse and air-dry to avoid streaks. Keep drips off wood sills and floors, which stain easily. Place towels to catch runoff, and inspect cords and ladders so residue never stiffens.
Whitening and Product Choices That Truly Matter
Yellowing on vinyl or plastic slats sometimes needs bleach. San Angelo suggests misting a cloth with bleach spray, then wiping surfaces; do not spray the room. Overspray can lighten carpets and furnishings, so control the contact and protect surroundings during every step with care on window blinds.
Use diluted gentle dish soap on non-porous parts, and always dry thoroughly. Even one unnoticed drip can mark a wood floor. Clorox wipes work on hard surfaces, although not on fabric or unsealed wood. Light, even passes prevent streaks, and fresh water removes lingering suds without dulling finishes.
Sabrina Fierman, of New York’s Little Elves, advises avoiding corrosive or bleaching agents on wood or textiles. She also says less is more because mild products protect finishes and extend service life. Keep labels handy, test in a hidden spot, ventilate well, and limit sessions so decisions stay careful.
Other Treatments and The Right Time to Replace
Start with hardware on drapes or Roman shades, vacuuming rods and valances with a brush. Lower shades fully to minimize folds and expose more surface in each stroke on window blinds. Work from top to bottom, covering three to five inches per pass. Use a clothespin as a movable marker.
Vacuum the reverse face too, because glass-side fabric collects dust. On white roller shades, scrubbing with soapy water while hanging creates drips and protection hassles. Remove them first when possible. Even then, heavy yellowing or rubbed-in grime resists effort and often returns after light washing.
For thorough results, hire ultrasonic cleaning. Technicians remove shades and bathe them in a tank using high-frequency waves with biodegradable agents, as Fierman notes. Weigh that cost against replacement. Many people change blinds every five to ten years, though condition matters more than the calendar.
Why a Simple, Steady Routine Keeps Dust from Returning Fast
Practical habits keep rooms healthier, and window blinds stay clean with less work. A quick weekly pass limits allergens, while thoughtful deep cleans restore finish and movement. Because materials differ, match methods with care and skip harsh products. Short sessions fit busy days, and expert tips from San Angelo and Fierman help routines last. Small, repeatable steps protect floors, cords, and slats, so daily views feel clear again. The routine soon becomes second nature.